11.30.2010

Paper Pizza!

I can't believe Thanksgiving has come & gone already. It's even harder to believe that tomorrow is December 1st! I need to get going & plan some winter/holiday crafts. We've had a slow start to the week but we did manage to pop in at the library for story time.
This week's theme was Pizza & this is what M & M created....

They loved making their own pizzas. M2 had a hard time keeping the "cheese" out of her mouth but she did manage to finish with it looking great.
I loved that it was an easy craft with very few supplies.
*Small paper plate, red circle for the sauce (construction paper), yellow rectangles of tissue paper for the cheese & brown construction paper circles for the sausages.
Glue it all together & you've got a paper pizza!
It was a great way for M1 & I to practice circles & rectangles with M2 as well.
Enjoy....s.b.

11.23.2010

Pumpkin Bread in a Can!

This is what is left of the pumpkin bread loaf that M1 made at school this morning....

If I wouldn't have stopped them, the girls would have eaten the entire loaf! It really was that good :) What's even more fun is that they baked the bread in a 15oz. vegetable can, which I loved because it's something different.

Here is the recipe....
3 1/3 c. flour
2 tsp. baking soda
1 1/2 tsp. salt
3 tsp. cinnamon
1 1/2 tsp. ginger
3 c. sugar
1 c. vegetable oil
4 eggs
2/3 c. water
2 c. pumpkin

Preheat the oven to 350 degrees. Combine the dry ingredients & then combine the remaining ingredients in a separate bowl. Once mixed add the dry ingredients as well. Bake in a 15 oz. vegetable can for 45 min. to 1 hour. (I'm assuming they sprayed the can because M1's loaf popped right out of the can.) AND... I'm not sure how many cans this recipe makes, you may want to cut the recipe in half!

And this is the adorable tissue paper turkey that she made today @ school as well. I thought I'd share in case you're looking for another quick turkey day craft this week.

I love that even with out mom's prompting, she said she's thankful for M2..... awww!
Enjoy your week & Happy Thanksgiving!!! s.b.

11.21.2010

Toilet Paper Tube Turkey

We completed our first craft in our new house this weekend. Most of the supplies are unpacked but there is still a lot of organizing to do. Thankfully, this was an easy one that required minimal supplies. M1 is very excited to share her thankful turkey with the family this week!

Supplies- Toilet paper tube, glue, orange pipe cleaner, construction paper, scissors, black marker & scotch tape (not pictured).
1. Cut out a few feathers using the colored construction paper.
2. Using the brown paper, cut out a medium size circle for the turkey head. (Mine was about 3 inches in diameter)

3. Brainstorm with your child a handfull of things he/she is thankful for. M1 decided on Mom, Dad & M2...Books...New House & Her friends at school. She really did think hard about it too!
4. Cut 2- two inch pieces off the end of the pipe cleaner & then cut the remaining piece in half.
5. Wrap the small 2 inch pieces around the end of the longer pieces as shown below to create small "feet" for the turkey. Set aside.
6. Cut out two small white circles for the eyes (we used the marker to create small dots in the center of each eye.)
7. Using the orange, cut out a medium triangle for the beak & with the red paper a tear shaped gobbler as well.
8. Glue all of the pieces to the brown circle head.
 9. Use the tip of the scissors (parents) to create two small holes in the bottom 1/8 of the tp tube. (This is where the legs will eventually be poked through.)
 10. Use the glue to fasten the head to the top of the tp tube (Opposite the holes for the feet in the bottom.. be sure that the head is glued on the same side as the holes so the feet match up with the body!) & the feathers to the back of the tube. (We did use a little scotch tape to help keep the feathers in place... it worked much better than trying to get the glue to stick quickly.)
11. Slide the two pipe cleaner feet through the holes in the bottom of the tube. (They should stay in on their own w/o any glue or tape assistance.)
 And.... it's done! Lots of little steps but very fun for the little ones!
 What are your little ones thankful for?
Enjoy! s.b.

11.19.2010

Turkey Day Treats

Hello all... with Thanksgiving quickly approaching I've been working on getting my craft area unpacked & organized so we can get back to business. M1 has been asking to make something & she's enjoyed seeing all of our "old" stuff from our last house as it's being unpacked. We're working on a turkey craft today that I'll post this weekend... don't want to wait too long with Thanksgiving less than a week away!
In the mean time, we've made a trip to the grocery store & are all set to make turkey cookies again this year.
These are our favorite....
 M1 just loves these festive cookies... she's a HUGE fan of candy corn. They always turn out so cute & are definitely a hit with all the little ones. You can find the recipe HERE at Pillsbury.com. I usually just go with whatever I've got at home. Last year I did not have mini M&Ms for the eyes so we just made them with frosting. Still just as cute.

Now, what I'd really love to attempt are these AWESOME turkeys found @ bakerella.com . It's such a fun website & they've done some pretty fun holiday treats. I think anyone would want to gobble them right up!!
I hope you're all having a great week. We're looking forward to putting up our Christmas tree this weekend... An annual tradition while the guys are all hunting! I love this time of year.
Enjoy! s.b.

11.10.2010

Acorn Picture Frame

I saw a project similar to this one in Family Fun magazine a month or so back. This week we decided to give our own acorn frame a try as a cute home made birthday gift for my mom. (M1 & M2's Grandma) It would have been 100% easier had I had one of those $1.00 unfinished wood frames from Michael's, but I didn't & we made it work!!

Supplies- A bag full of acorns, Hot glue gun, Paint, Large Craft Sticks, Glue, Cardboard & Scissors

1. M2 & I began by taking a walk & collecting a brown bag full of acorns. We really just wanted the top of the acorns but got a little of each.
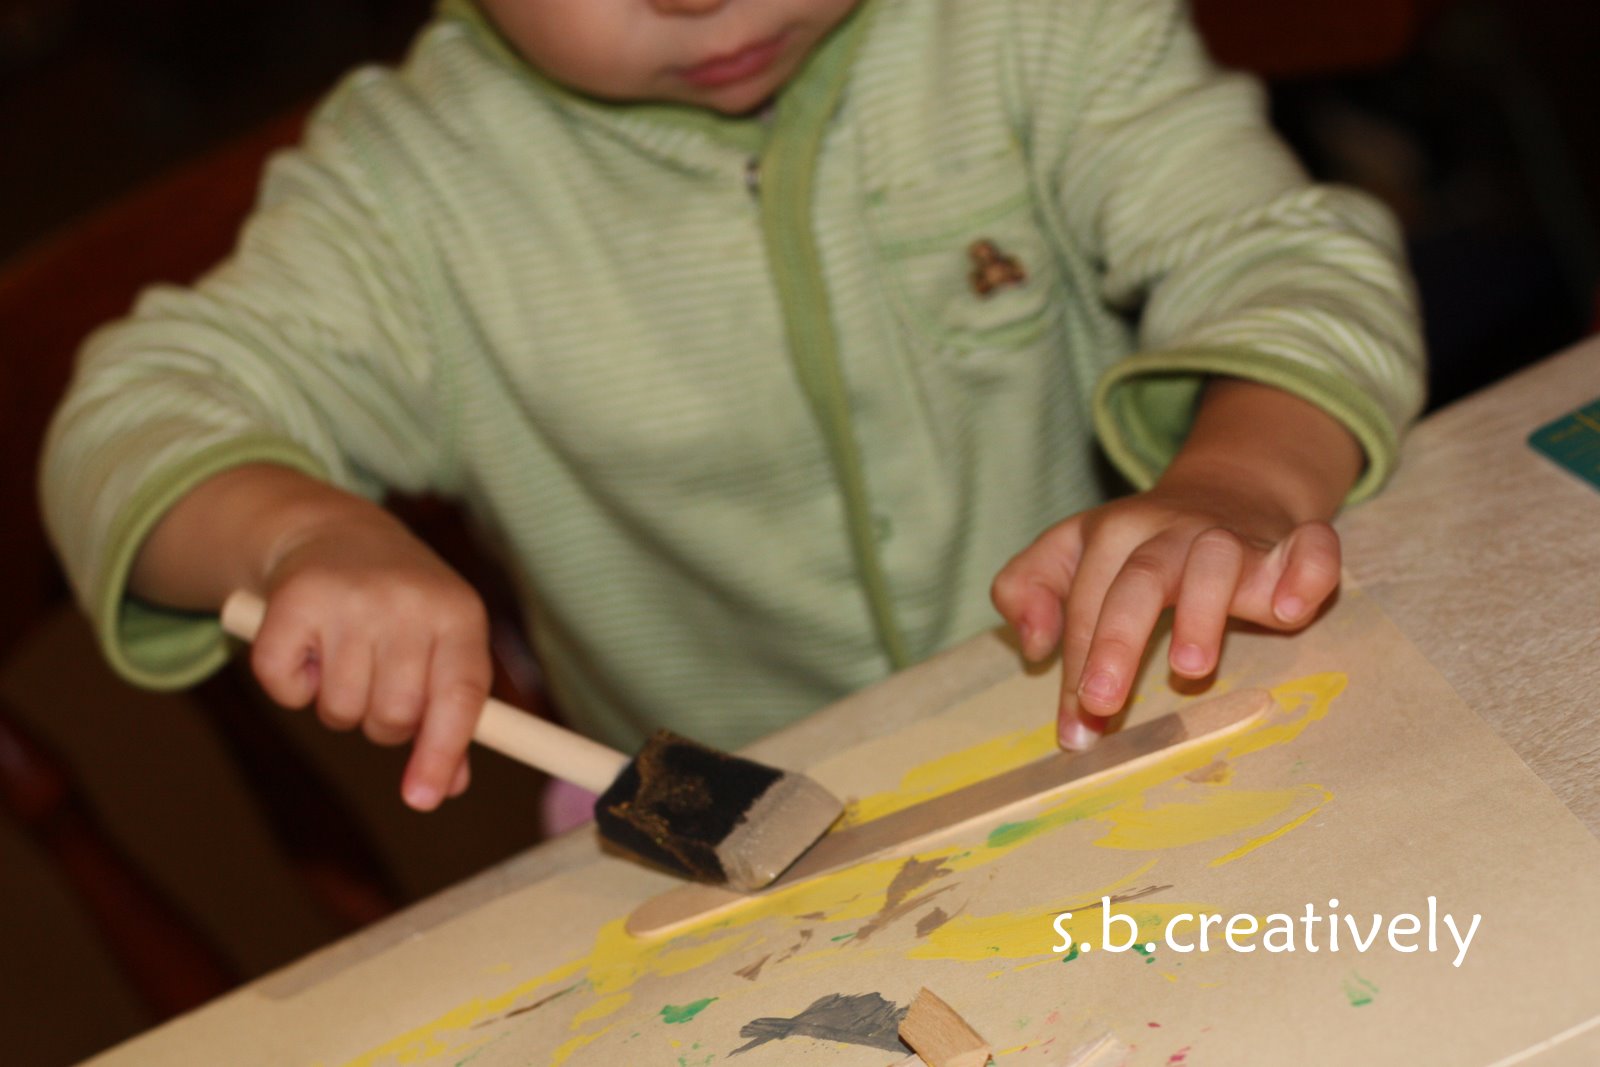
2. Then once we got home, we painted 8 craft sticks a neutral brown/khaki color.
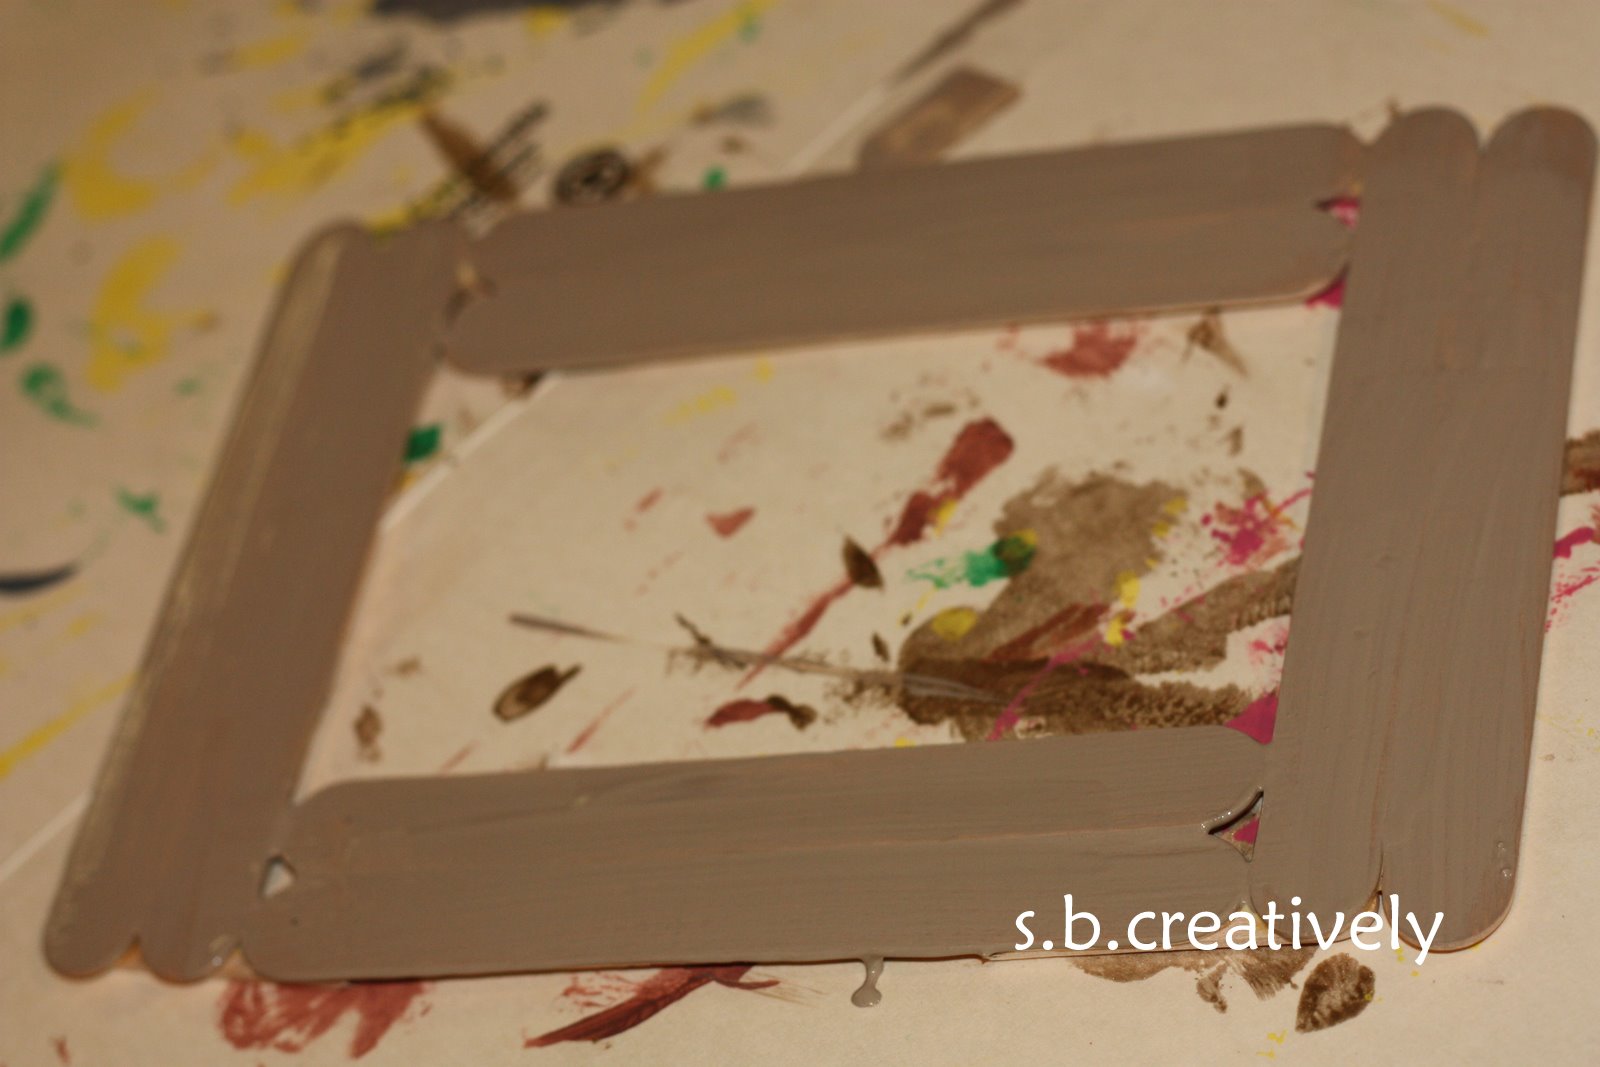
3. I glued the craft sticks together using a few other unpainted craft sticks as a base to hold them together. The frame itself is pictured below.
4. Once the frame was completely dry, M1 & I began gluing the acorn tops around the outside of the picture frame. We covered it as much as we could. ** We did use hot glue to secure the acorns to the frame. I was in charge of the glue gun & M1 was very careful only to touch the acorns. Most of them had little stems which made it much easier.)
 
5. We placed one of our favorite pictures into the frame & taped it into place.

6. In an effort to make my somewhat flimsy frame much stronger, I cut out a piece of cardboard & glued it over the picture covering the entire back of the frame. (Pic. below)
7. I used another piece of cardboard cut into a somewhat triangular shape to create the picture stand. Glued it on & it worked great!
Done! Lots of creativity to make this one work w/o an actual picture frame but it turned out pretty darn cute.
And Grandma loved it!
Enjoy! s.b.

11.03.2010

Scrap Wood House

Hello All... Still working on unpacking (the house looks great!) but I do have a few "reserve" projects to post. Below is a project that I did with both M1 & M2 a few weeks ago. I wanted the girls to create something out of some scraps that we found laying around the construction site @ our new house. So we went out & did some searching. Both girls were strongly attached to a few scraps of wood that we decided to take home. Once we took a closer look @ them, I realized that they would make really cute little houses. They sat in a bag near our craft area for a few weeks & then we began....

-M1 chose two paint colors & began painting her pieces of wood...
(We used craft paint.)
On to the other piece...
-Allow some time to dry...

-Next I cut out some small squares & rectangles using some patterned craft paper we had in our paper drawer.
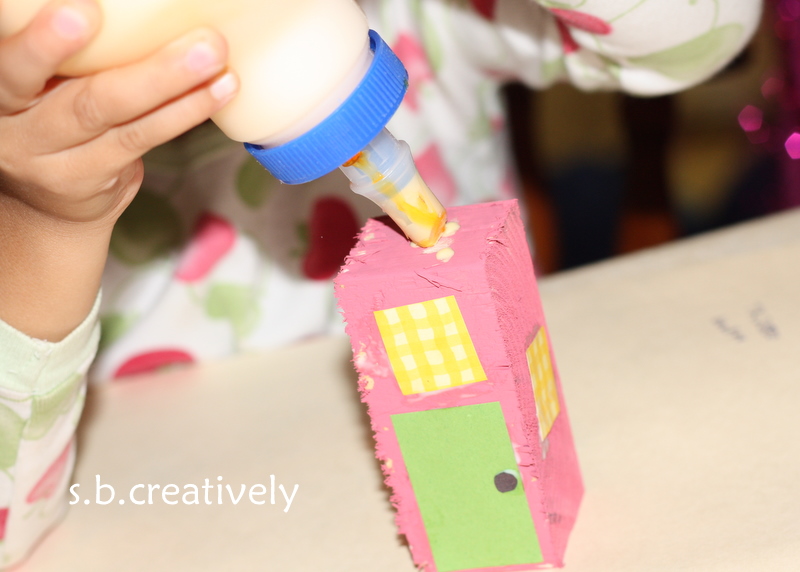
-M1 glued them to the rectangle piece of wood to create small windows & a door.
-Once we got all the doors & windows attached, she was ready to add the roof!
(We used wood glue for this part.)
-More drying time...
I dated the bottom of both of their houses & plan to place them on a shelf or bookcase somewhere in their bedrooms once we move in. A small remembrance of our house construction! Move in date is only 3-4 weeks away!
Enjoy! s.b.

10.29.2010

Moving Day! We have so much to do today, it's a little overwhelming... but we're super excited. This morning I logged into facebook to take a peek & saw this picture a friend of mine had posted. Her twin girls made these & they were too cute to not post.
No tutorial, but they look pretty easy. I'm assuming cake filled cones & printed graphics from the internet. Just adorable. I will definitely make these next year. I think they could even be switched up a bit to make them Christmas treats!
Enjoy your weekend everyone! s.b.

10.27.2010

Haunted Halloween Ghost House

Happy Halloween Week! Aside from celebrating Halloween this week, we are also moving into our new home this weekend! We are so excited & can't wait to have our stuff out of storage after 5 months! So I may be a little slow with the blogging the next few weeks, but bare with me... we'll definitely be back!
We did manage to create this Ghost house before packing up all of our craft supplies yesterday.

Supplies-  Uncooked White Beans, Glue, Scissors, Black & Yellow Construction Paper, Sharpie Marker, White Crayon.
1. Cut out a large house using the black construction paper.
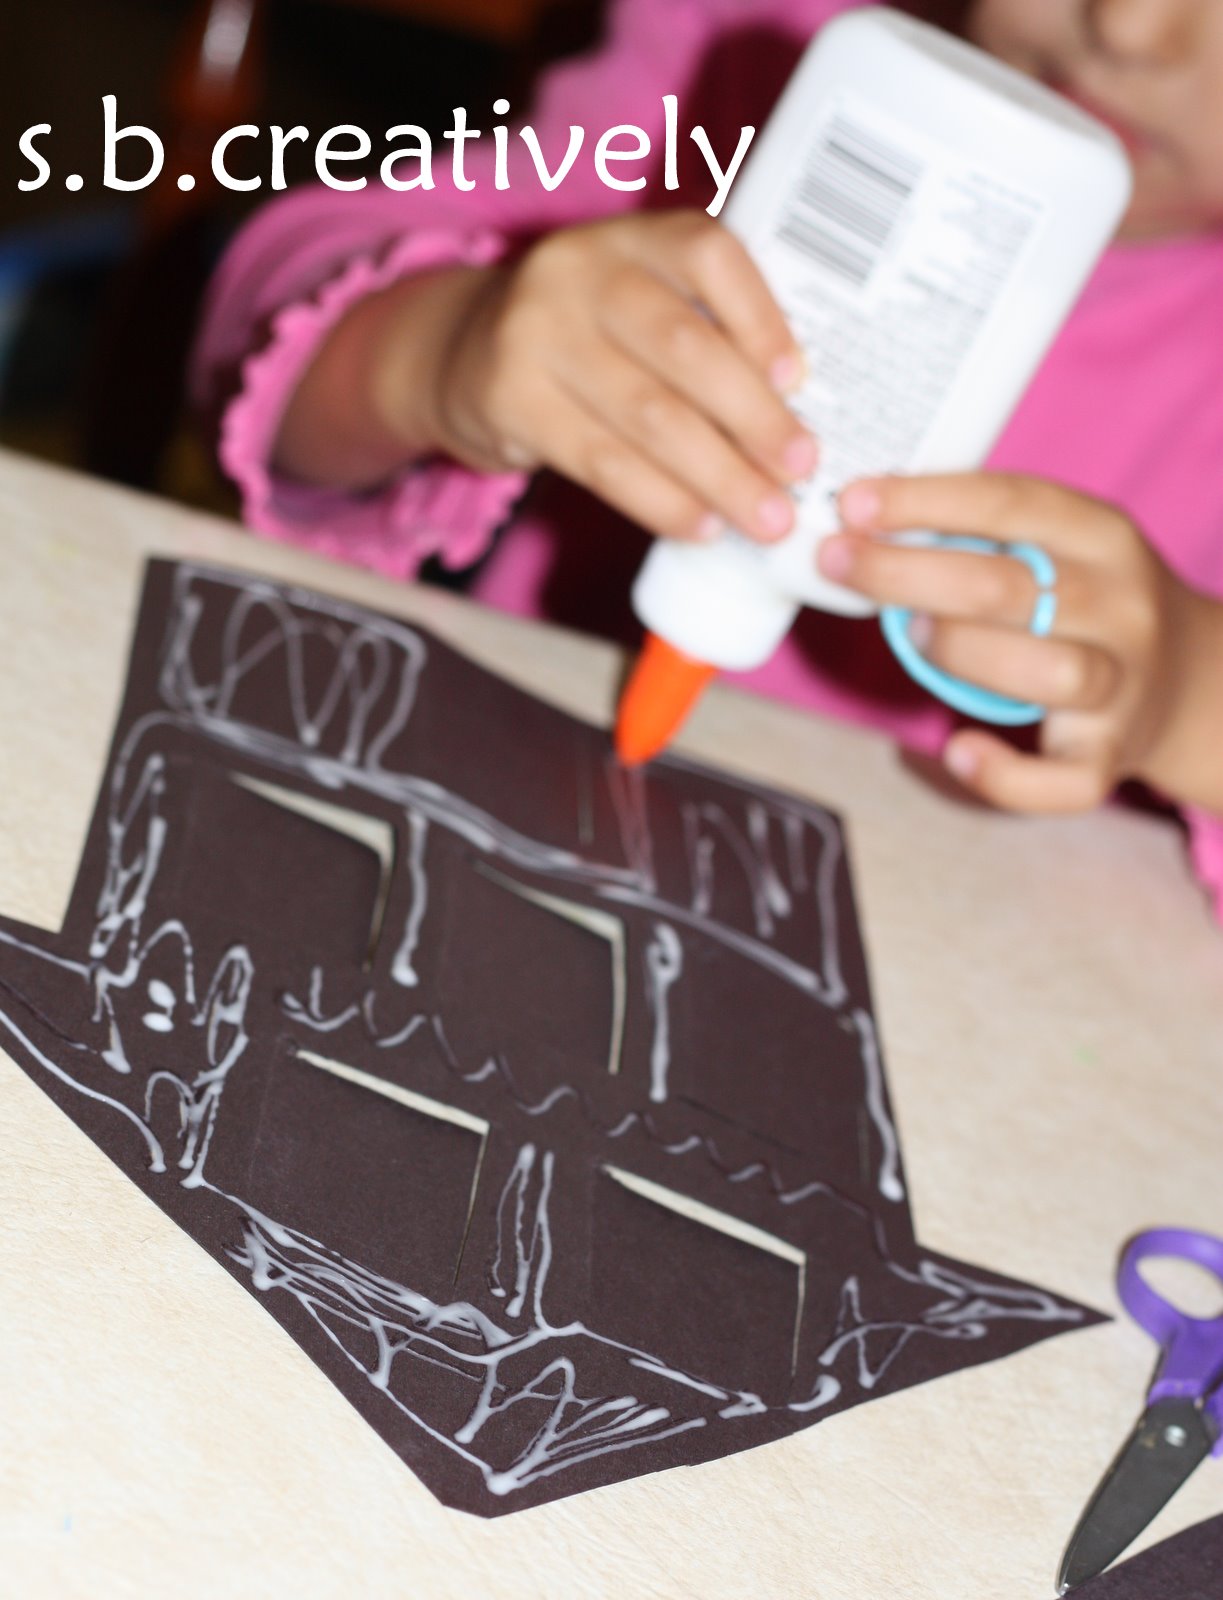
2. Inside the house, cut 5-6 windows leaving one side attached. (See Below)
3. Pace glue on the entire back of the house, avoiding the windows. Leave them dry.
4. Place the haunted house onto the yellow paper & push down to secure.
5. Use a white crayon to write the numbers 0-5 on each of the doors/windows. (One number on each window.)
6. Count out 15 beans & use the sharpie marker to draw tiny ghost faces on each bean.
 7. Begin gluing the ghosts into each of the windows according to the numbers on the outside. #1= one bean, #2= two beans, #3= three beans... etc. until all the windows are filled.
 8. M1 did some additional decorating on her Haunted House once the beans were dry & in place, which your children could do as well. She added some grass, a full moon, etc.
 Very cute & they love playing with their Haunted House!
 Happy Halloween to all! Enjoy! s.b.

10.22.2010

Pumpkin Cheese Ball

Looking for a festive appetizer to bring to a Halloween gathering? Look no further...I made this pumpkin shaped Carmelized Onion Cheese Ball last year for a Halloween party & am looking forward to making another next weekend.
It turned out so cute & tasted pretty good as well. Added bonus: the orange on the outside is created from crushed Goldfish crackers... a staple in most houses with little ones.
I found the recipe here- Taste of Home 
Did I mention I love Halloween??!!
Enjoy! s.b.

Paper Plate Spider

M1 is terrified of anything that crawls, but she surely enjoyed making this spider! Drying time aside, it was quick & a great way to pass time yesterday morning. I wish Halloween could come 3 times a year!! So fun...

Supplies- Paper Plate, Glue, Black Paint, Paint Brush/Sponge, Scissors, Black/White Construction Paper, Black/Gold Pipe Cleaners, Stapler & Scotch Tape.
1. Start by painting the under side of the paper plate black. Allow to dry.
2. Once it's dry, fold the paper plate in half.
3. Tape the black pipe cleaners to the right & left side of the bottom half of the plate. (3 on each side. I also cut them each in half so they weren't too long. **If you don't have pipe cleaners, you could use thin strips of black paper.)
 
4. Fold the plate in half & secure by stapling around the edges.

5. Create spider eyes by cutting out large white circles & small black circles. (M1 glued them together.)
6. Glue the eyes onto the spider.
7. Bend the gold pipe cleaner into a silly shaped mouth & glue on. (If you don't have one, you could use a different colored paper, colored ribbon, etc.)
8. Allow to dry.
I wish all spiders were this cute! Enjoy!...s.b.

10.19.2010

Lunch Bag Pumpkin

It's always fun to bring some of my past classroom projects back & do them with the girls. This paper bag pumpkin project was always a favorite & it was fun to see the different pumpkins that were created. I had to give my girls a little  more assistance with this one.. but as usual, it can be modified for little ones of any age.

Supplies- 1 Small Brown Paper Bag, Orange/Green Paint, Paint Brush/Sponge, Green Pipe Cleaner or Green Ribbon, Glue, Black Construction Paper, Scissors & Newspaper
1. Crinkle up a few sheets of newspaper into a ball shape.
2. Stuff the bottom of the paper bag with the newspaper balls.
3. Tie the bag shut 3/4 of the way up with a green pipe cleaner or green ribbon.
4. Begin painting the lower 3/4 of the bag orange until it's covered to the little one's liking... M2 definitely didn't even come close to covering her's but it looked great.
5. Continue by painting the top portion (above the tie) with the green paint.
6. Cut out two triangle eyes, a triangle nose & a jack-o-lantern mouth using the black construction paper. (I did this for M2 but if you have older children you could allow them to create their own shapes for the face.)
7. Glue them into place.
Finished... allow time to dry.

10.12.2010

Handprint Fall Colors Tree

Fall is by far my favorite time of the year. I could craft fall stuff all day long! This week the girls (with my assistance of course!) created fall trees using their cute little hand prints.

Supplies- Colored Paint, Glue, Scissors, Brown & White Construction Paper & A Green Crayon.
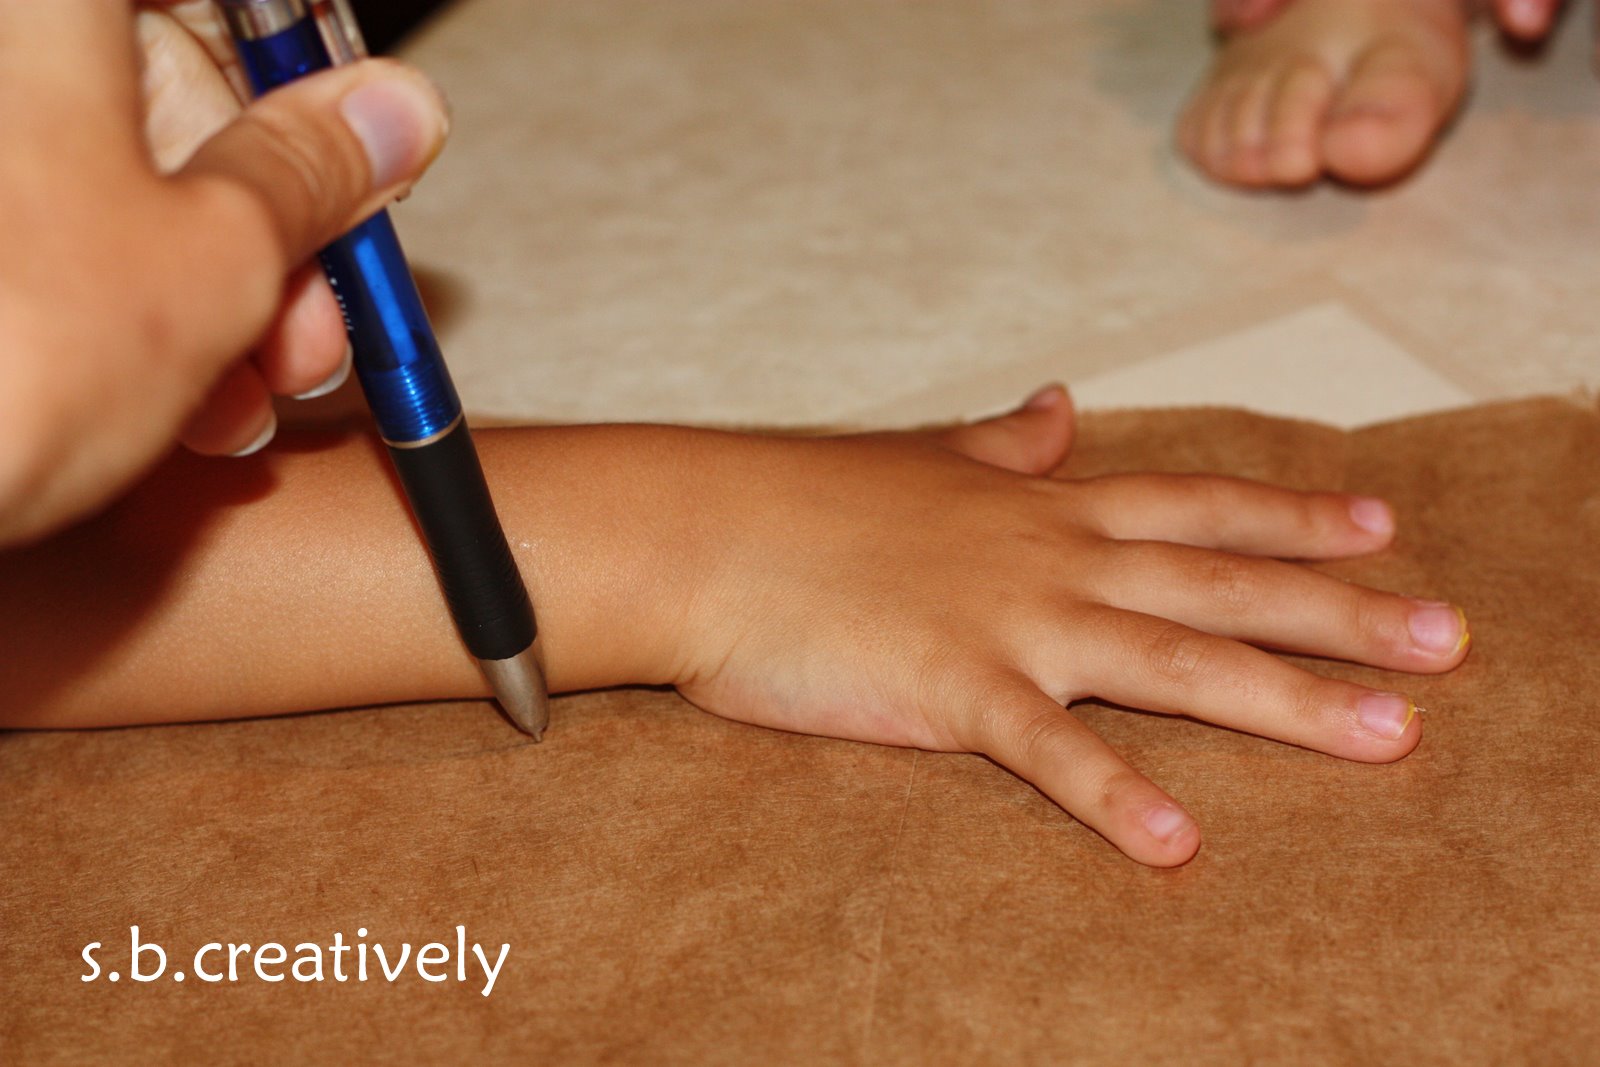
1. Trace & cut out your little one's hand and arm print. (A small amount of the arm must be traced to create the "tree trunk".)
2. Glue the brown hand/arm print to a 8x11 piece of white construction paper.
 
3. Using the fall tree colors (red, yellow, green, brown, orange) begin dipping little fingers into the paint & stamping them onto the paper to create small colored "leaves."
*We used one color at a time & I washed their fingers off with a damp towel in between colors.
4. Once we were done with the paint, M1 wanted to add a little grass to her picture. Of course monkey see, monkey do...M2 had to make some grass under her tree as well! (Using a green crayon.)
5. Allow to dry.
M1 on the left & M2 on the right...LOVE it!!!
Enjoy! s.b.
giveaways