2.28.2011

Bookmarks!

Wednesday March 2nd is READ ACROSS AMERICA Day. A big day for school age children as most teachers will celebrate in the classroom. I've had several discussions with M1 about the importance of reading & we'll definitely celebrate with lots of books/reading as well on Wednesday.
In honor of the occasion, we made bookmarks!

Supplies- Scissors, Contact Paper, Thin Ribbon, Decorations (sequence, paper shapes, glitter, stickers, etc.), Small knife (for the adults!), Construction Paper.
*If you do not have contact paper, you can use colored construction paper & "laminate" it with clear book tape or packaging tape. Just need a little reinforcement so it lasts longer & doesn't tear.
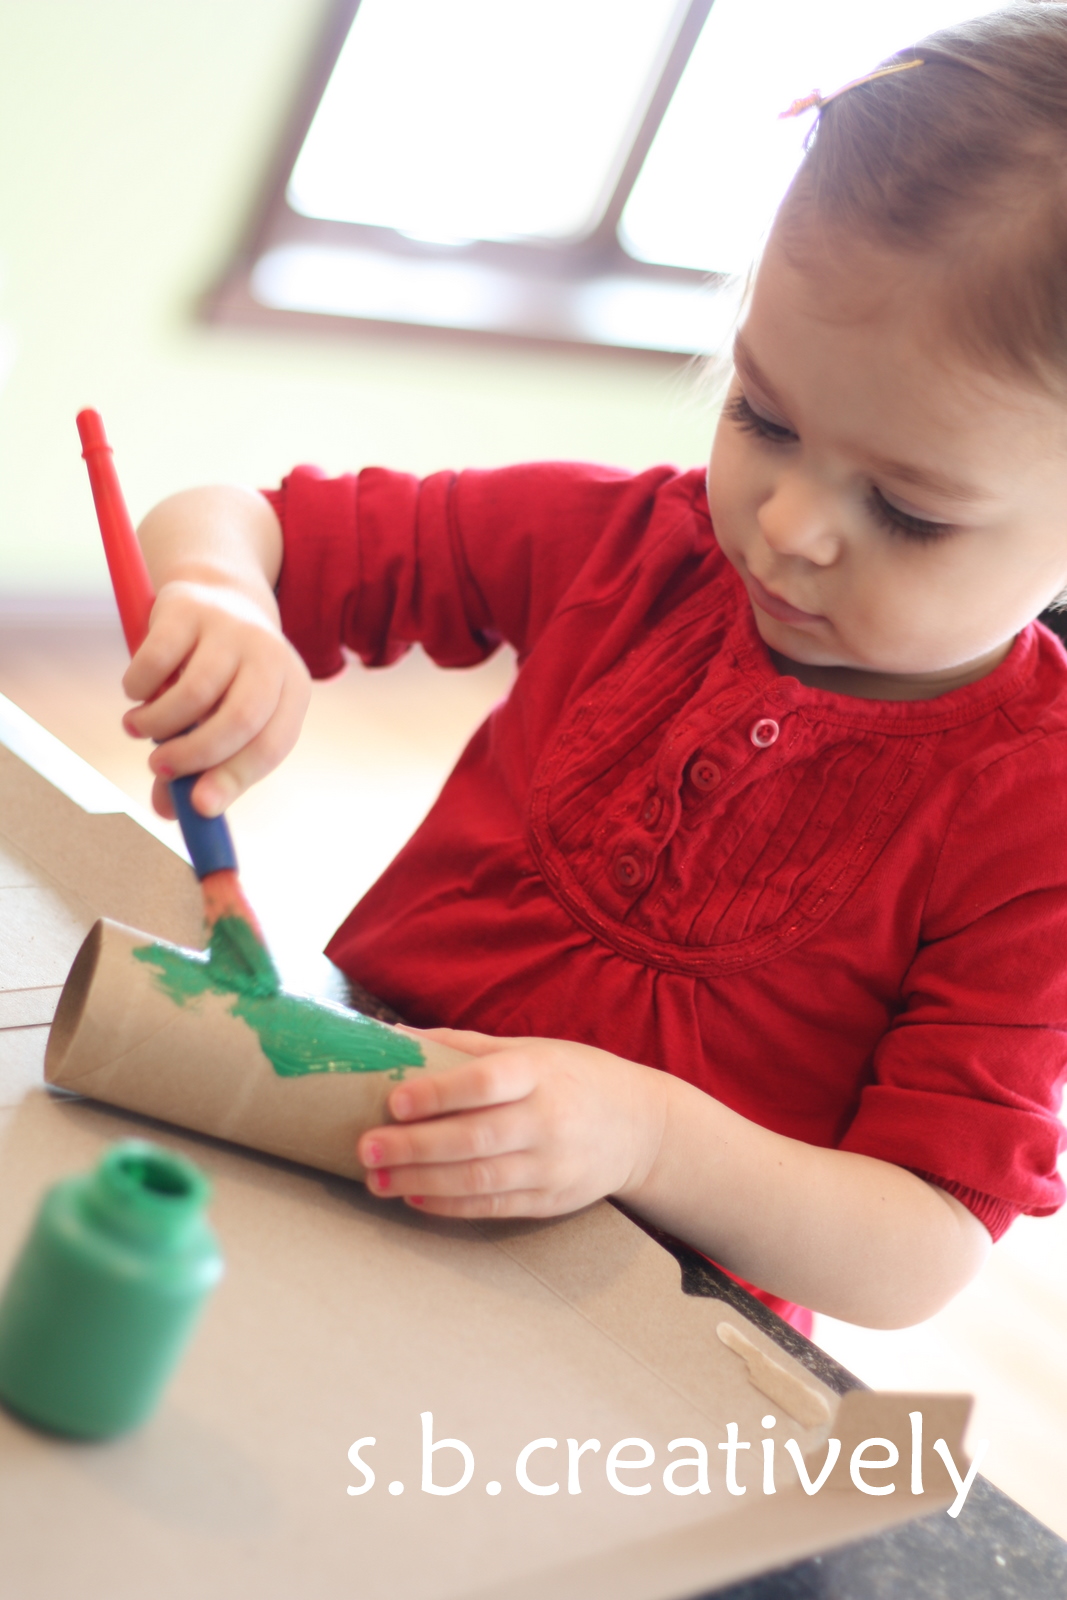
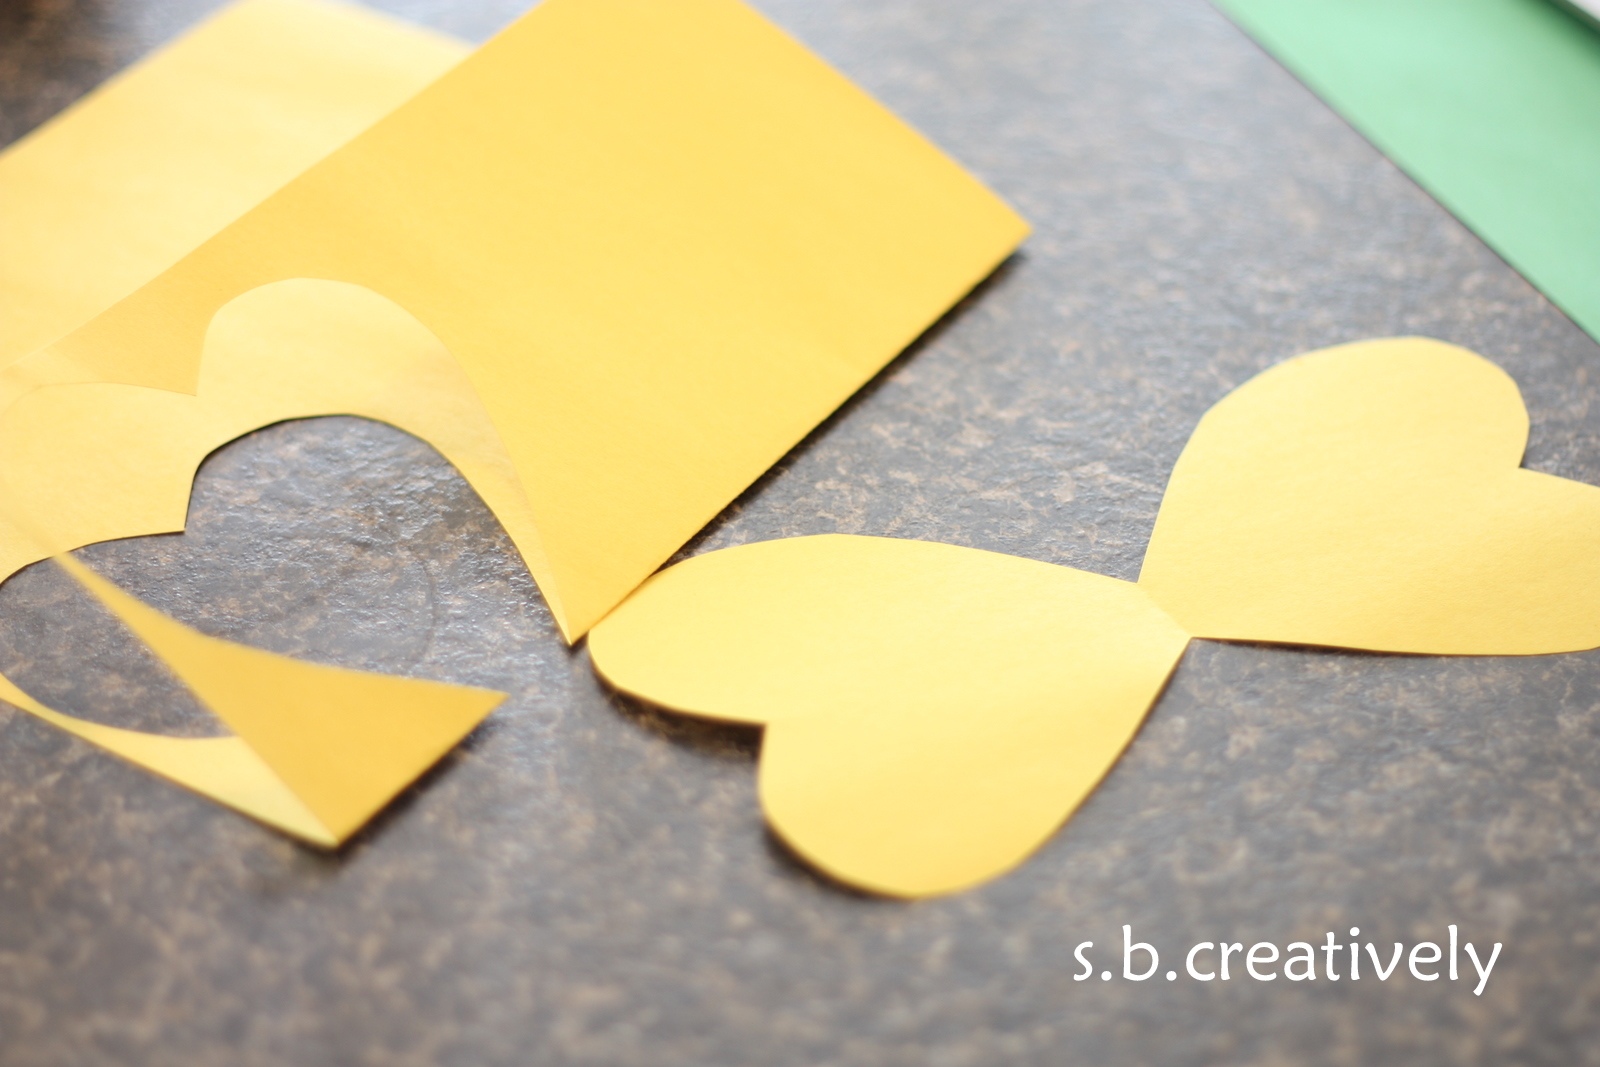
1. We started with the hole punch & punched out a bunch of colorful shapes using colored construction paper. Just a few extras to add to our pile of decorations.
2. While M1 & M2 cut out shapes, I cut two 12X2 inch strips of contact paper.
(Again, you could just cut strips of construction paper here as well.)
3. Fold the contact paper strips in half.
4. Peel back the paper off half of the strip exposing the sticky side up.
5. Begin placing decorations all over the sticky paper. As many as desired.
Decorated, & ready to construct the bookmark...
6. Peel off the other half of the paper off the contact paper. Fold the undecorated side over on top of the decorated side & press to seal. (Trim off any edges that may not match up perfectly.)
7. ADULTS: Use a small exacto-knife (regular knife or scissors would work as well) to cut a small horizontal slit in the top of the bookmark.
8. Cut a piece of ribbon about 10 inches long.
9. Fold the ribbon in half & string the ends through small slit as shown below.
10. Feed the ends of the ribbon through the opposite "looped" end of the ribbon & pull to fasten, forming a small knot. (Also pictured below.)
And your bookmarks are all set & ready to mark the pages in any great book.
We're sending a few of these to M1 & M2's great-grandparents to use to mark the pages of their current favorite read!
Happy Reading & Enjoy!  s.b.

2.21.2011

Presidents Day Finger Puppets

Happy Presidents Day. I got this fun idea from kaboose.com while browsing through they president themed crafts. M1 doesn't really get the idea of Presidents Day, but she sure did like the finished puppets! They sure make a cute Abe Lincoln & George Washington...

Supplies- Glue, Blue.White.Black Construction Paper, Scissors, Tape, Markers, 1 Quarter & 1 Penny.

1. Cut two 3 1/2 inch by 7-8 inch rectangles. One blue & one black.
2. Roll the paper up (one @ a time) making sure that your little one's pointer finger can fit in the roll.
 
3. Tape the rolls shut along the edges.
4. Place a small loop of tape about 1/2 inch away from the top of each roll.
5. Place the penny & quarter (heads up) over the tape until secured.
6. Cut a small blue triangle & a 1 inch long black rectangle.
 7. Glue the blue triangle onto the top of the roll overlapping the top quarter. Glue the black rectangle on top of the black roll overlapping the top of the penny.
8. Cut a small long, narrow triangle & draw a small "bow" along the top. Glue under Abe Lincoln's head, aka the penny.
 9. Glue a small piece of a cotton ball below the quarter on the "breast" of George Washington.

10. Allow ample time to dry. We layed ours face down as shown below.
And time to play....
Happy Presidents Day!! Enjoy. s.b.

2.16.2011

Alphabet Pretzels!

Some of you may remember our Valentine Pretzels from last year.(Find the original post HERE) This week we decided to make them again but this time we skipped the hearts & made the pretzels into letters! It was so fun for the girls & educational at the same time. Both M1 & M2 enjoyed rolling out the dough into long "hot dogs...."

But then the real fun came when we began making them into the actual letters. M1 did a great job making an "M" and a "B" (Which is the first letter of our last name.) She had a few other favorites as well...S, O, L, I, etc. And even though M2 is a bit small to be creating actual letters, she was a pro with creating letter o's!
Delicious as usual. You can visit the original post for the recipe or find it here @ Food Network. We especially like to dip these in our family's favorite Chive Dip. It's so easy to make & one of the best recipes my Grandma has ever given me.

Chive Dip
1 - 8 oz pkg cream cheese
1/4 tsp. garlic salt
1/4 tsp. onion powder
1/4 c. dried chives (in the summer we use fresh chives....much better)
2-4 Tbsp Milk, added one at a time (enough to make it a creamy dip)

Mix all ingredients with a mixer until combined & smooth.
It's a staple at any family gathering & usually served on crackers, but it sure tastes good with these soft pretzels as well. We froze the leftovers in a large ziploc freezer bag. They are easy to just pop in the microwave for a few seconds & have for a quick snack.
Enjoy! s.b.

2.13.2011

Valentine Breakfast...

We decided to have a Valentine breakfast this morning while Daddy was home vs. tomorrow morning when things are rushed. (Back to work) Thought I'd share today in case any of you wanted to give it a try! Here is where we started...
Red food coloring in the pancake mix & then we cut out hearts with a cookie cutter...
Ta-da! A pink & delicious breakfast for M1 & M2 that included pink milk as well...
Enjoying every bite...
This is sooooo yummy, thanks mom!
Happy Valentines Day (tomorrow) to all!
Enjoy! s.b.

2.08.2011

Heart Mitten Garland

I found the inspiration for this adorable craft HERE on the blog Two Straight Lines. I thought it would be a fun project for M1 & I to do together. After we started, I quickly realized it was a bit difficult and ended up doing most of it myself. M1 definitely helped & it turned out great!

Supplies- Red/White Construction Paper, Newspaper, Glue, Red Ribbon, Scissors, Hole Punch
1. Cut out several (we did 7) mitten shapes. I just did this free hand but if you're interested there are 100's of templates on the web. The mittens are approx. 8 inches long.
2. Because the newspaper is very flimsy, I glued each of the mittens onto white construction paper & cut them out as well to reinforce them a bit.
3. Using the red construction paper, cut out as many small red hearts as there are mittens.
4. Glue the hearts onto the mittens. M1 was glad to finally be able to help a bit!
5. Use the hole punch to punch out holes around the exterior of each mitten. (Another step that M1 enjoyed... they really liked all of the small circles that the hole punch created. Homemade confetti!)
6. String the red ribbon through the tops of each mitten & you're done!
We hung ours in the entry to our sun room & it looks great.
Definitely a fun winter-like Valentine decoration.
Enjoy! s.b.

2.04.2011

Peanut Butter Football Cookies

As many of you know, we've got the Green Bay Packers & the Super Bowl on our minds. Only a few more days until the big game!
Last night @ my mom's house we made some yummy peanut butter cookies in the shape of footballs...
We used this recipe from Allrecipes.com Chewy Peanut Butter Cookies
(Added bonus, no dairy in the cookies so M1 can enjoy an unfrosted one as well!)
We shaped the balls into small ovals & then pinched the edges before putting them in the oven & they definitely took the shape of footballs while baking.
Next, we frosted them with store bought chocolate frosting...
Mixed up some white piping made with a mixture of powdered sugar & water.
Mixed well until the consistency of toothpaste & piped on some "strings."
(*I bought the "ketchup-like" bottle @ Michael's for super cheap... it works so well for frosting cakes & cookies.)

They turned out super cute. We can't wait to eat & share with friends on Sunday evening.
 
Will you be watching the Super Bowl come Sunday? Cheering for the Packers as well??!!! 
Enjoy! s.b.

2.03.2011

Valentine Love Bugs

This has always been one of our favorite books to read to the girls...
Love Bug by Sandra Magsamen. We could read it a hundred times a day, M1 & M2 love the very end when we tickle them like crazy. After reading it a few times this morning, we created our own little love bugs...or butterflies, but who's paying attention?!

Supplies- Glue, Colored Construction Paper, Scissors, (not pictured) Scotch Tape, Pipe Cleaners, Paint, Paint Brush, Toilet Paper Tube, Google Eyes (or a small circle of black paper for the eyes), Black Marker
 1. Paint the toilet paper tube the desired color.
(*If you don't have paint or don't feel like painting, have your little one wrap the tp tube with construction paper instead.)
2. While the tube dries a bit, cut out the love bug wings using a piece of construction paper.
Fold the paper in half & be sure that the bottom of the heart connects to the fold, as pictured below.
3. Glue the wings to the back of the tp tube. (We also placed a small piece of tape over the top to help hold the wings in place while they dried.)
4. Cut the pipe cleaner in half.
5. Tape a small colored paper heart to the end of each pipe cleaner.
6. Tape the empty end of each pipe cleaner to the inside top of the tp tube, as pictured below.
7. Glue the google eyes to the front of the love bug.
8. Add a smile using a black marker.
9. Decorate the wings with some more paper hearts, attaching them with glue.
And there you've got it... two cute little love bugs!
M2 made hers GREEN & GOLD in honor of the Packers...we're looking forward to the big game this weekend! Go Packers!!!
Enjoy! s.b.

2.01.2011

Cute Valentine Printables

It's official, we've made it to February & today was our first morning placing a small sticker on our Countdown to Valentines Tree.
Only 13 more days until the big day of LOVE celebration. With that being said, I wanted to share these...
Adorable Valentine printables that I printed for M1 & M2 yesterday. I found them on the Crafts & Sutch blog. Here is the link... Valentine Printables
I plan on giving each of our girls a little valentine message each day leading up to February 14th, when they'll both get a special valentine present.
Both girls were thrilled to get their first little message this morning & have been carrying the small notes around with them where ever they go all morning. (M1 even brought hers to school this a.m. in her pocket!) And if your little one goes to school all day, they'd be a great little addition to a lunch box as well.
Enjoy! s.b.