Showing posts with label outside fun. Show all posts

11.10.2010

Acorn Picture Frame

I saw a project similar to this one in Family Fun magazine a month or so back. This week we decided to give our own acorn frame a try as a cute home made birthday gift for my mom. (M1 & M2's Grandma) It would have been 100% easier had I had one of those $1.00 unfinished wood frames from Michael's, but I didn't & we made it work!!

Supplies- A bag full of acorns, Hot glue gun, Paint, Large Craft Sticks, Glue, Cardboard & Scissors

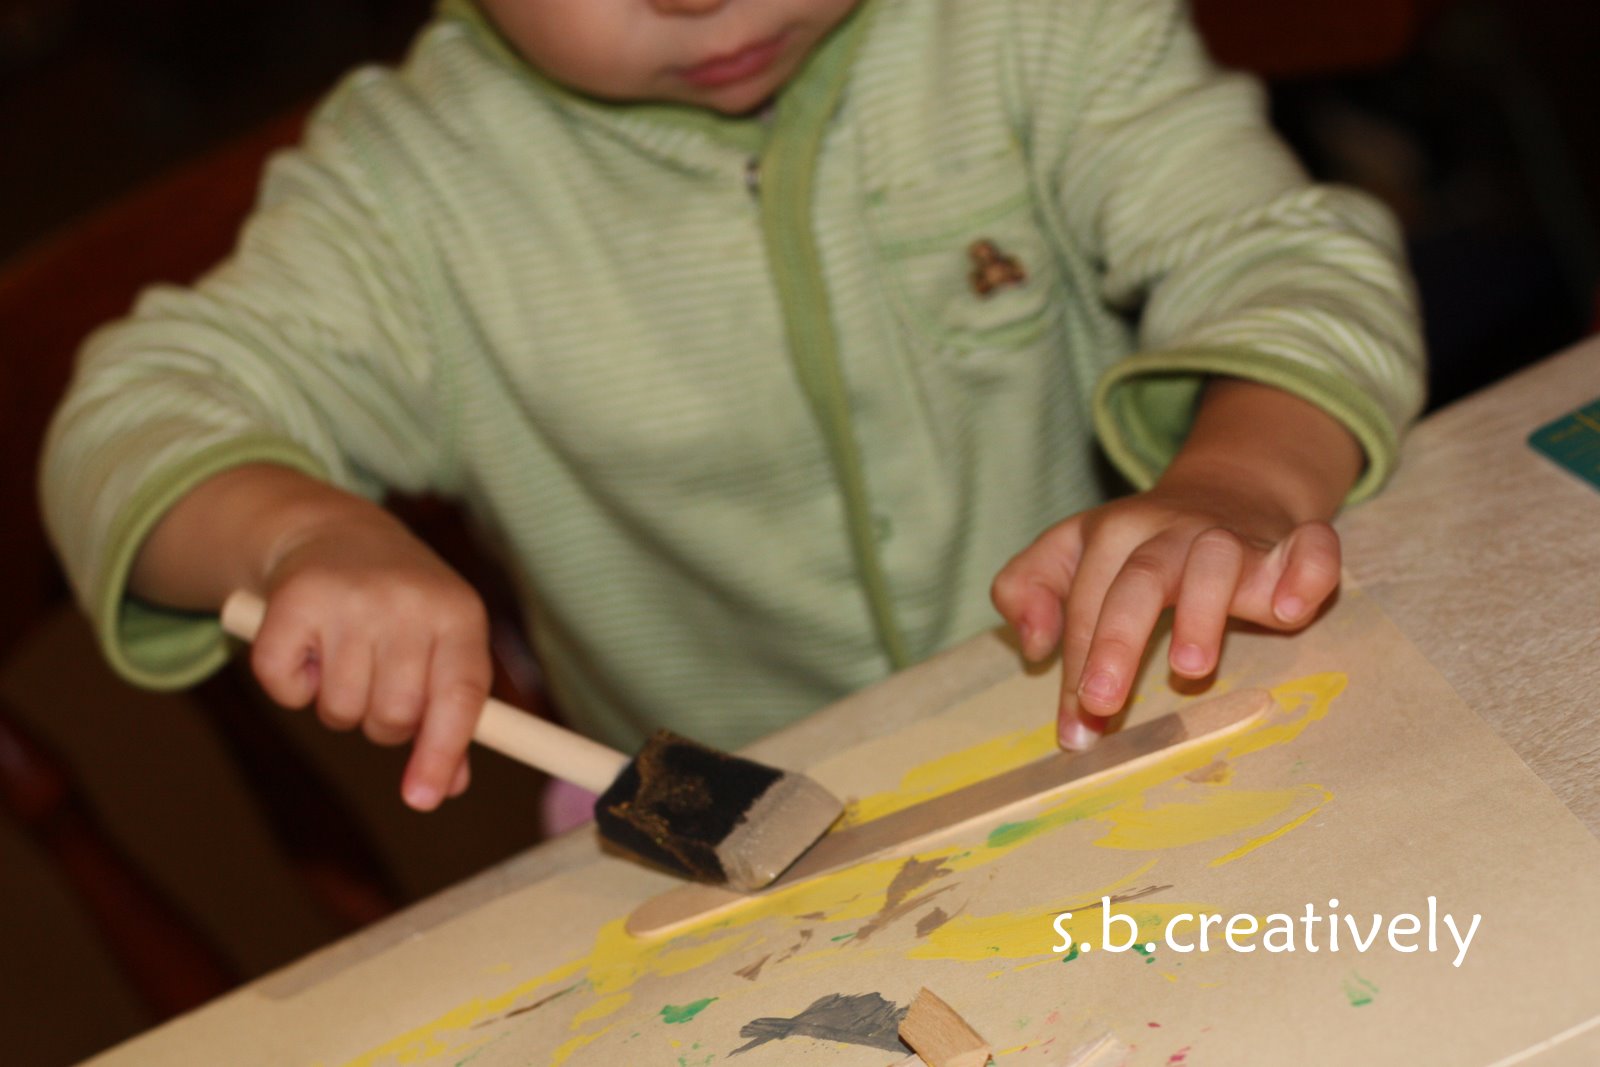
1. M2 & I began by taking a walk & collecting a brown bag full of acorns. We really just wanted the top of the acorns but got a little of each.
2. Then once we got home, we painted 8 craft sticks a neutral brown/khaki color.
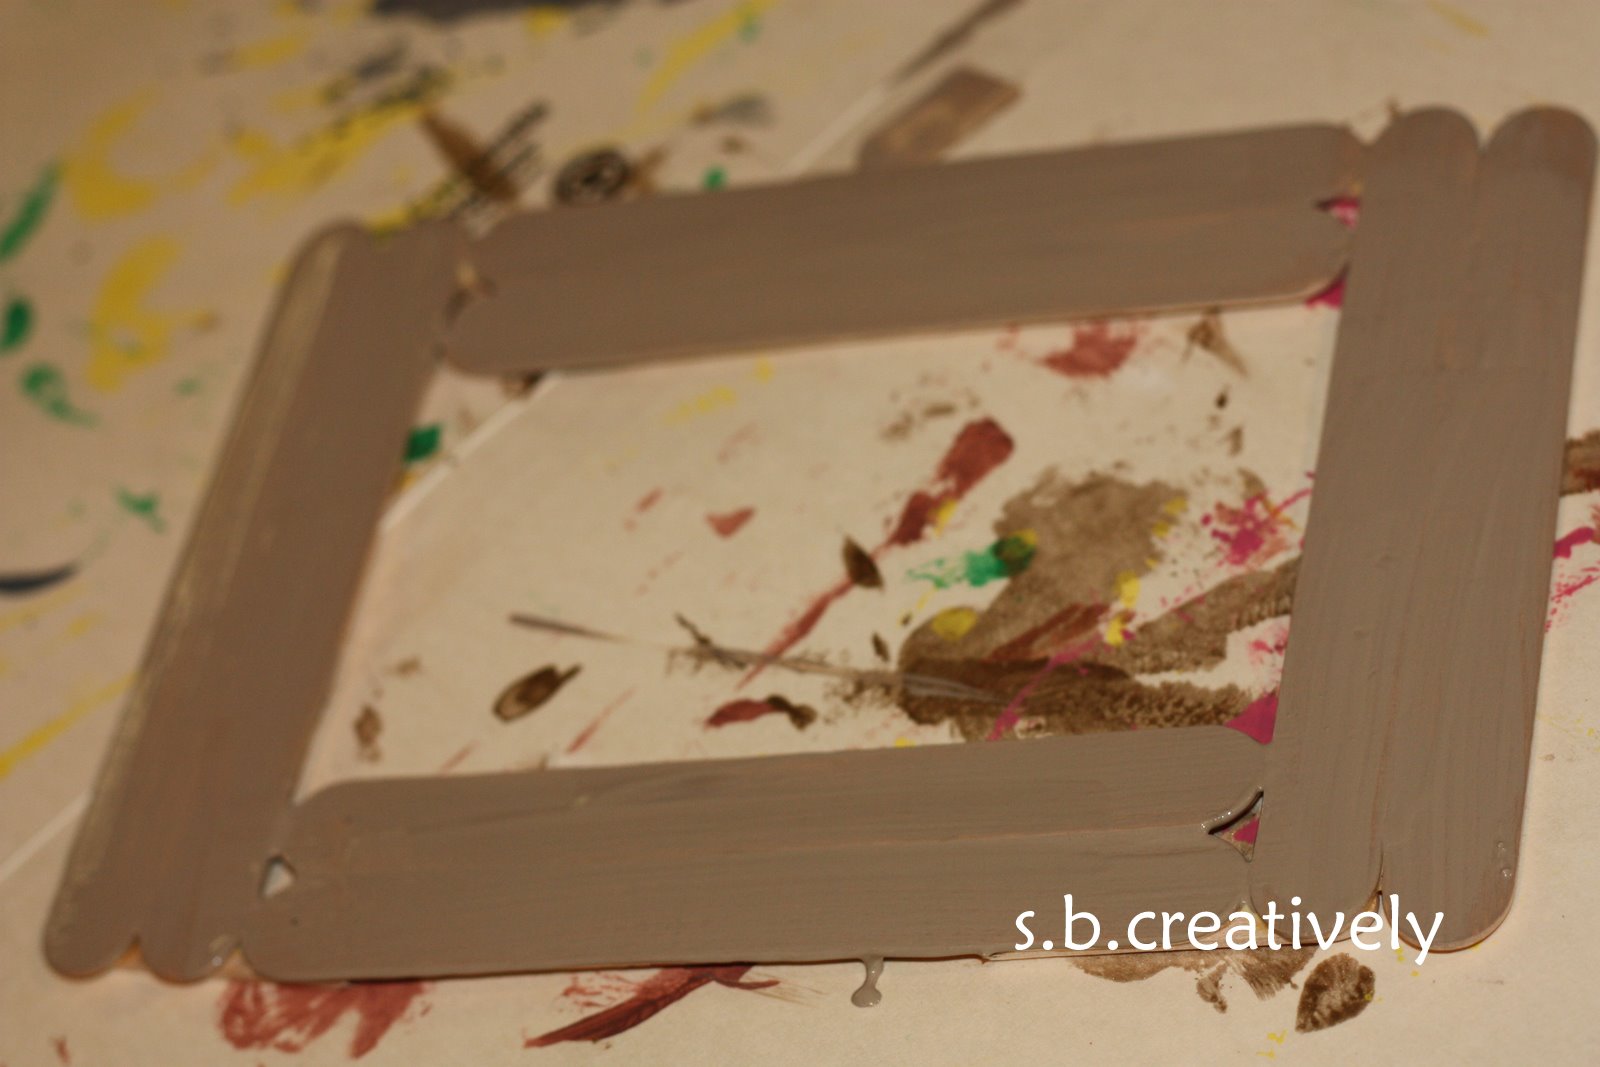
3. I glued the craft sticks together using a few other unpainted craft sticks as a base to hold them together. The frame itself is pictured below.
4. Once the frame was completely dry, M1 & I began gluing the acorn tops around the outside of the picture frame. We covered it as much as we could. ** We did use hot glue to secure the acorns to the frame. I was in charge of the glue gun & M1 was very careful only to touch the acorns. Most of them had little stems which made it much easier.)
 
5. We placed one of our favorite pictures into the frame & taped it into place.

6. In an effort to make my somewhat flimsy frame much stronger, I cut out a piece of cardboard & glued it over the picture covering the entire back of the frame. (Pic. below)
7. I used another piece of cardboard cut into a somewhat triangular shape to create the picture stand. Glued it on & it worked great!
Done! Lots of creativity to make this one work w/o an actual picture frame but it turned out pretty darn cute.
And Grandma loved it!
Enjoy! s.b.

8.17.2010

Canvas Painting...

What a cute project. I've seen this done a few times & I look forward to having M1 & M2 create some masterpieces of their own for our new house in a few months. These pictures are of a friend of mine & her two little ones "A" & "E." How cute are they painting their canvas?! She purchased all of her supplies @ Michaels for pretty cheap...around $15.00. You can't find art that inexpensive & personalized by your little ones! Thanks for sharing your pictures ladies!

Supplies- *Clean White Canvas (there are so many different sizes to choose from...your choice.), *Colored Paint (She was able to fine kid-safe acrylics too!), *Paint Brushes/Sponges, *Paper Plate/Bowl, *Some sort of polycrylic finish. (Also found @ Michaels.) *Some sort of paint shirt to prevent stained clothes.

1. Pour a small amount of paint, one color at a time, onto a paper plate or bowl.
2. Give your little ones some time to get creative & create their paintings.
(Working so hard!)
3. Once they are finished allow them to dry completely.
4. *Optional... Apply a coat of polycrylic finish over the top of the painted canvas to "lock" in the paint. (I've used both a brush on kind or a polycrylic finish that comes in a spray can which seemed to be a bit easier. You can apply more than one coat of polycrylic finish, just be sure to let each coat dry completely before adding another.)

So cute! I can't wait to see what M1 & M2 create for our house. "A" & "E's" will look fabulous in their newly remodeled bathroom.
Enjoy! s.b.

8.10.2010

Contact Paper Kites

These cute kites require many steps, but they are all fairly simple. M1 & her friend "A" loved making them. After the project was finished I decided to add a string to the top of the kite so she could run with it while holding on to the string. Definitely gave her the feeling of flying her kite.
Supplies- *Contact Paper, *Construction Paper, *Scissors, *Sequence, *Stickers, *Feathers, *Thin Ribbon, *Markers, *Coffee Filters, *H2O Spray Bottle
1. Cut out an outline of a kite using the construction paper. (Seen Below)
 
2. Place the kite outline on the contact paper with the sticky side up.
3. Give the little ones time to decorate the kite by laying sequence, stickers, etc. on the sticky contact paper. (Unfortunately I didn't take pictures of the girls decorating... lots going on & M2 was not happy during that time!)

4. Once it's all decorated, place another piece of contact paper over the sticky side to seal the decorations in. Trim off the extra around the edges of the kite.
5. Punch a hole in the bottom of the kite & attach a 2 1/2 foot piece of string.
6. Now the ties... use washable markers to color all over a coffee filter, pictured below.

7. Take the colored filters outside & spray with water.
8. Allow them to dry.
9. Once the filter is dry, cut out 3-4 oval/rectangular pieces. Discard the scraps.
10. Pinch each piece together in the center & tie onto the kite string as shown below.
11. Done & ready to fly around the yard!
As I mentioned earlier, I did fasten a string to the top of the kite also. M1 & A had a great time flying their kites around the yard!
Enjoy! s.b.

8.06.2010

Juice Bottle Bug House

If M1 wasn't so afraid of bugs this would be a great project.
I may have to craft it with her & give it a try because I think having bugs in a container to watch would be right up M2's alley. She's not nearly as girly as M1 is. My hope is that if the bugs are contained M1 won't freak out as much. It is ridiculous how much she hates bugs...definitely takes after her mom, the only difference is the bugs I'm terrified of are much bigger & much uglier (centipedes)!!  Fingers crossed... I have yet to see one here in our new town. Sounds like they aren't as big of an issue here... Hooray!
Here are the directions...Juice Bottle Bug House
I'll post pics once we actually make ours...Bugs aside, I think the girls will enjoy collecting all the bug "food" and sticks to create the bug home.
Have fun & enjoy! s.b.

7.27.2010

Faded Alphabet

Finally the rain has stopped...we've had so very few sunny days in the past three weeks. It's definitely nice to see the sun! Hopefully the slow down with the rain also keeps the building of our house moving along.
Here's what we crafted yesterday. Perfect for a cloud-free day!
Supplies- *Black construction paper, *Alphabet magnets, *Tape..not glue!, *Scissors optional in case your little one wants to cut out the letters.
1. Head outside & find a flat place to set the black piece of paper. (We used the patio table.)
2. Use two small pieces of tape to fasten the paper to the surface so it doesn't blow away.
3. Assist your little one in placing the letters right side up all over the paper.
4. Now is the long part. Let the letters sit untouched in the warm sun for at least an hour. (We let ours sit for a few hours. It may depend on how strong the sun is & the time of day.)
5. After the paper has faded, go ahead & let your little one discover the letters on the paper. M1 thought this was so crazy & was so excited to show others!
6. Then it's all up to you. We used the paper to practice letter recognition by saying a letter & having M1 find it. I think after a few days of this game, we'll go ahead & cut them out so we can put them in ABC order. That's where the glue may come in handy. The individual letters could then be glued onto another colorful piece of paper.
Enjoy! s.b.

5.19.2010

Recycled Water Bottle Bubble Blowers

Ok, I thought I was going to be able to keep up with the kiddo crafts while in the process of moving but I was wrong! My house is half-boxed up & the rest needs to be boxed in the next week. Not to mention, I'm having a birthday party for M1 on Monday (with an empty house) before we leave town. Can you say crazy??!! So I've decided that the crafting may have to be put on hold for a week or three! Bare with me & I promise we'll be back. In the mean time, I'm just going to feature other's kiddo projects to keep your little ones busy.

These bubble blowing bottles are actually on my list of to-do's with M1 & M2. I got the idea from Family Fun magazine & then about a month ago I saw the featured on HowDoesShe.com They look so fun & I look forward to giving them a try. Click HERE for the full tutorial. Let me know if/when you give them a try. I'd love to hear your results!!
Enjoy! s.b.