Showing posts with label Painting. Show all posts

12.15.2010

Handprint Santa

It's hard to believe that Christmas is just over one week away. I'm not ready for it all to be over just yet!!! Below is a craft that we made for the Grandma's last year. I did this one using M2's hand print & then the rest of the crafting I completed myself. When finished, we put them in festive frames so they could be used each year for decorations, & who could forget that tiny little hand print?!

If you're interested (sorry no tutorial for this one!), here is what you need...
Supplies- Blue Cardstock, White Paint, Paint Brush, A Small Piece of Red Corduroy, 2 Google Eyes, Red/Black/Pink Paper, A Small Pom-Pom, Small Silver Bead Strip & A Glitter Pen.

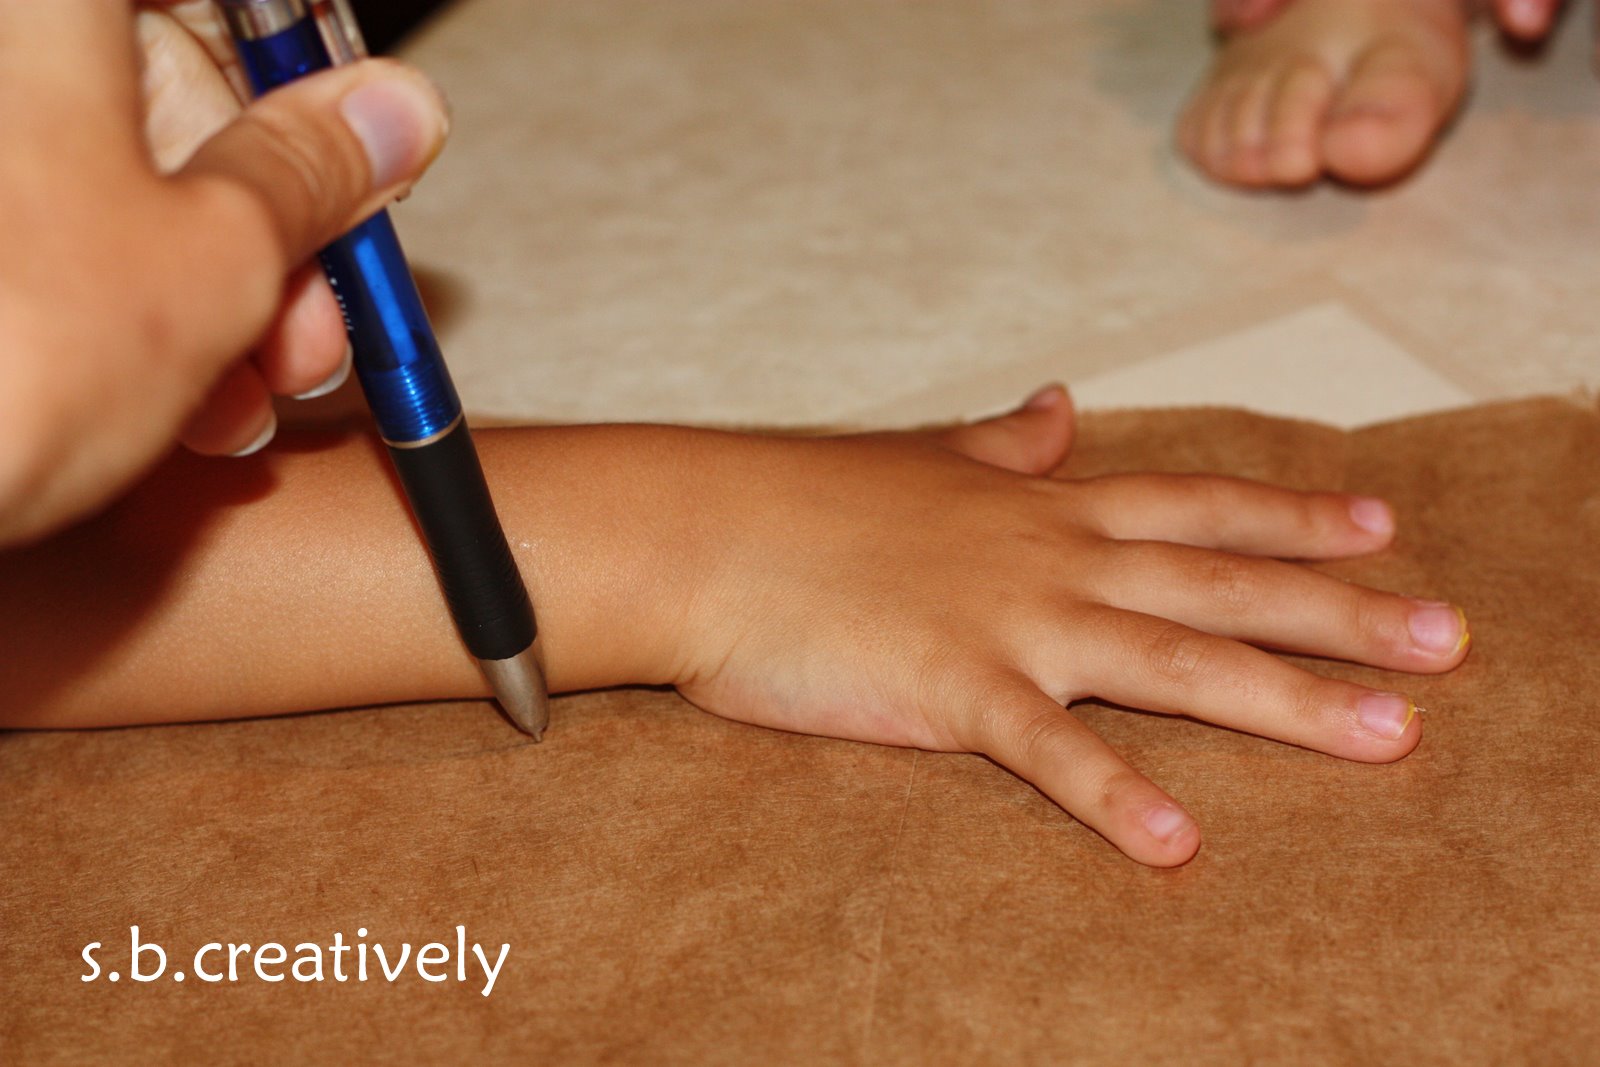
1. I stamped M2's hand 4 times on four different pieces of 4x6 paper. (One for each of the Grandma's & one for us!) I painted her hand first with the white paint & stamped it onto the paper, making sure to press down on each finger.
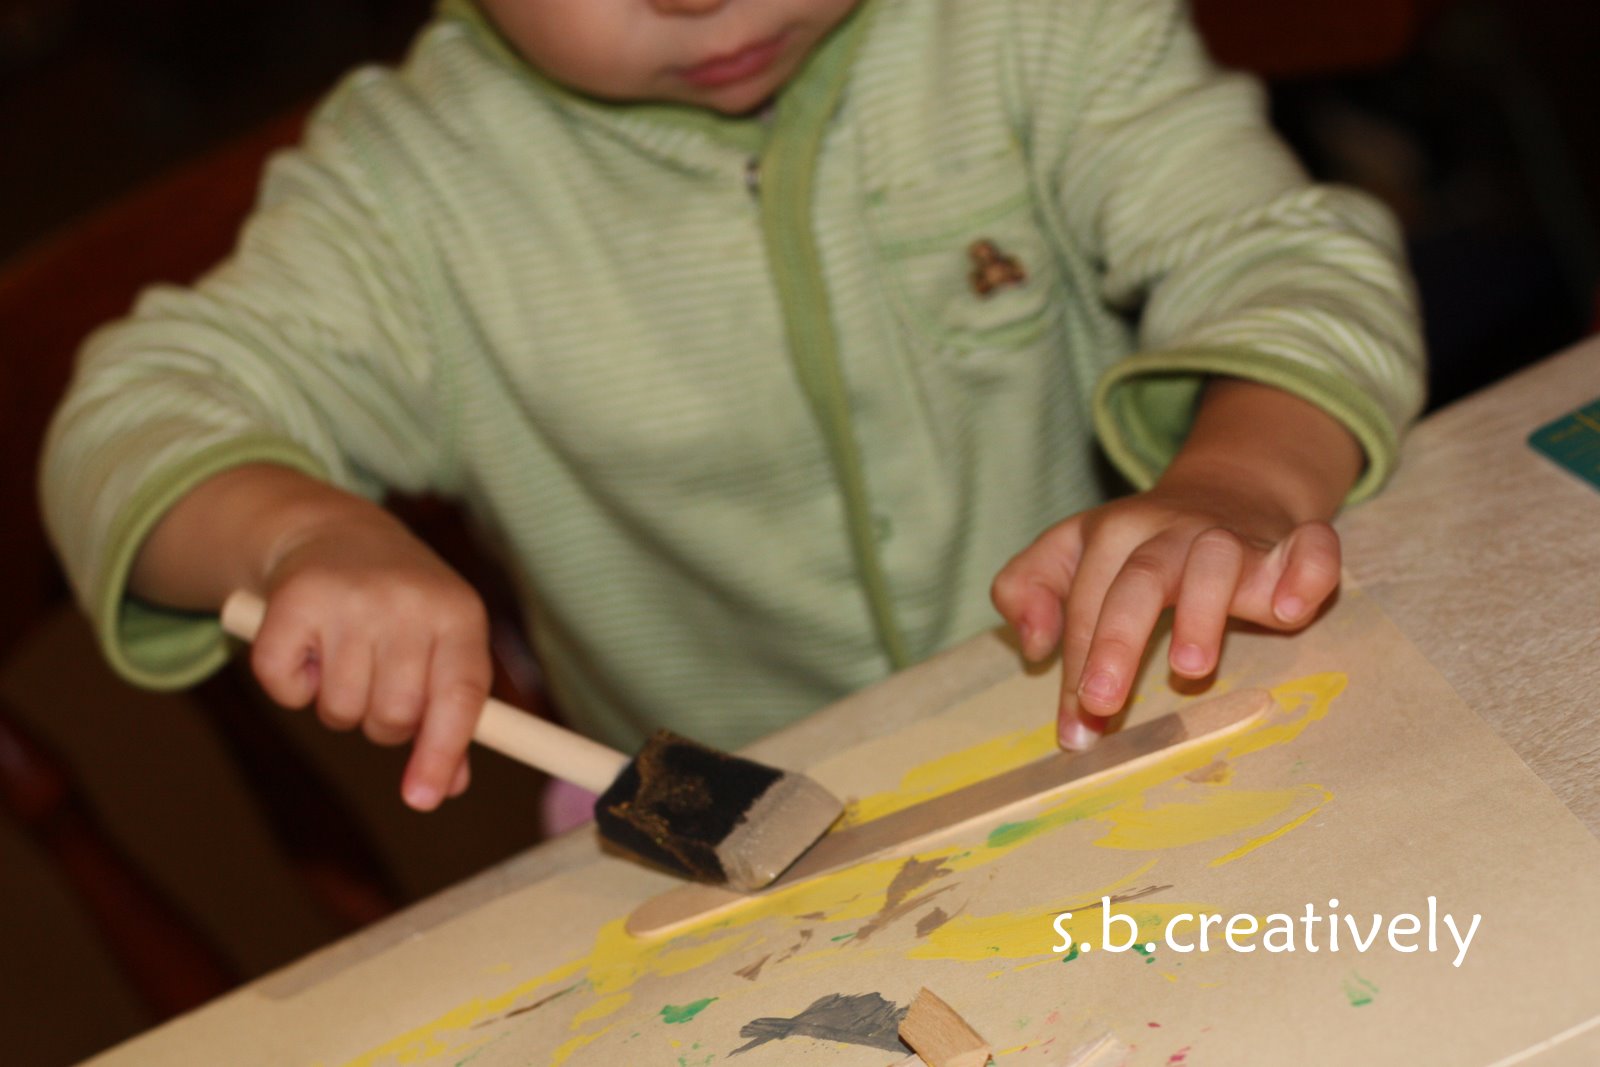
2. Once the hand prints were dry, I went ahead & started jazzing up this little Santa, using glue to fasten each piece on one at a time.
-Google eyes.
- Cut a small black circle nose.
-Cut two small pink circles for the cheeks.
- Cut a "hat" with the red corduroy. (If you don't have this, you could use red paper.)
-Add the fancy silver bead strip to the bottom of the hat. (Small pieces of cotton could be used for this as well.)
-Small pom-pom or cotton added to the end of Santa's hat.
-Last one! I used the silver glitter pen to write M2's name & add a few "ho, ho, ho's" to the picture.

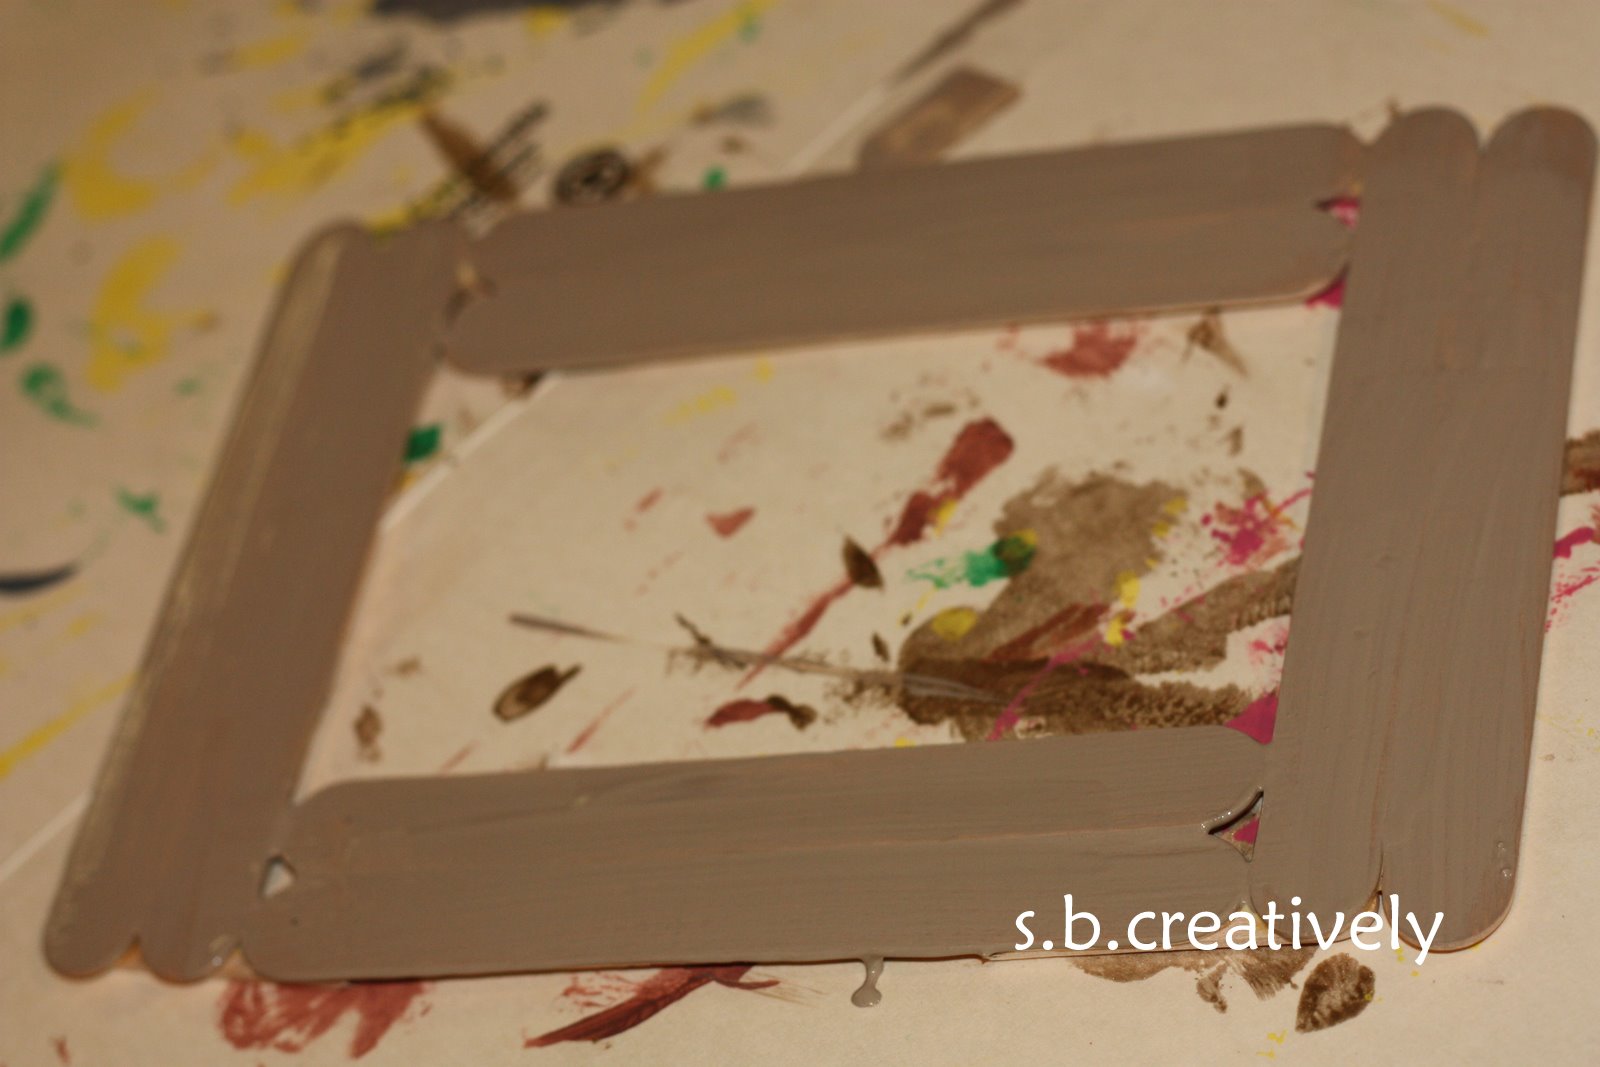
Frame it & it's such a fun gift for grandma's, a teacher, godparents, etc. A cute little keepsake too!
Don't forget to enter in the Holiday Backpack Giveaway below... Tell all of your friends too! Winner will be chosen Monday!!!
Enjoy! s.b.

12.02.2010

Handprint Menorah

Happy Hanukkah to all! The teacher in me loves to teach the girls about all kinds of Holidays, even those we may not personally celebrate. I have several Jewish friends, so Hanukkah just happens to be one that I know a little more about. This is a project I did during my preschool teaching days (A part time gig that I did while prego with M2). The finished product is just so precious...

Supplies- Blue & White Construction Paper, Blue & Yellow Paint, Paint Brush, Black Marker, Glue, Scissors.
1. Paint one little hand blue & stamp onto the white construction paper.
2. Repeat with the opposite hand being sure to overlap the thumbs (pictured below)... the menorah only needs 9 candles. Tricky when we've got 10 little fingers!

(Overlapping thumbs)
 
3. Use a fingertip & dip it into the yellow paint.
4. Stamp a yellow print on top of each of the 9 fingers or "candles."
5. Cut 13 small blue squares & print each letter of HAPPY HANUKKAH on each square. (As pictured below)
6. Scatter the letters in front of your little one (Assuming they are old enough for letter recognition).
 7. One by one spell out HAPPY HANUKKAH for your little one & allow them to find the correct letter in the pile.
8. Glue on each of the letters one-by-one as they find them.
 And you've got a Menorah!
 Enjoy! s.b.

11.10.2010

Acorn Picture Frame

I saw a project similar to this one in Family Fun magazine a month or so back. This week we decided to give our own acorn frame a try as a cute home made birthday gift for my mom. (M1 & M2's Grandma) It would have been 100% easier had I had one of those $1.00 unfinished wood frames from Michael's, but I didn't & we made it work!!

Supplies- A bag full of acorns, Hot glue gun, Paint, Large Craft Sticks, Glue, Cardboard & Scissors

1. M2 & I began by taking a walk & collecting a brown bag full of acorns. We really just wanted the top of the acorns but got a little of each.
2. Then once we got home, we painted 8 craft sticks a neutral brown/khaki color.
3. I glued the craft sticks together using a few other unpainted craft sticks as a base to hold them together. The frame itself is pictured below.
4. Once the frame was completely dry, M1 & I began gluing the acorn tops around the outside of the picture frame. We covered it as much as we could. ** We did use hot glue to secure the acorns to the frame. I was in charge of the glue gun & M1 was very careful only to touch the acorns. Most of them had little stems which made it much easier.)
 
5. We placed one of our favorite pictures into the frame & taped it into place.

6. In an effort to make my somewhat flimsy frame much stronger, I cut out a piece of cardboard & glued it over the picture covering the entire back of the frame. (Pic. below)
7. I used another piece of cardboard cut into a somewhat triangular shape to create the picture stand. Glued it on & it worked great!
Done! Lots of creativity to make this one work w/o an actual picture frame but it turned out pretty darn cute.
And Grandma loved it!
Enjoy! s.b.

11.03.2010

Scrap Wood House

Hello All... Still working on unpacking (the house looks great!) but I do have a few "reserve" projects to post. Below is a project that I did with both M1 & M2 a few weeks ago. I wanted the girls to create something out of some scraps that we found laying around the construction site @ our new house. So we went out & did some searching. Both girls were strongly attached to a few scraps of wood that we decided to take home. Once we took a closer look @ them, I realized that they would make really cute little houses. They sat in a bag near our craft area for a few weeks & then we began....

-M1 chose two paint colors & began painting her pieces of wood...
(We used craft paint.)
On to the other piece...
-Allow some time to dry...

-Next I cut out some small squares & rectangles using some patterned craft paper we had in our paper drawer.
-M1 glued them to the rectangle piece of wood to create small windows & a door.
-Once we got all the doors & windows attached, she was ready to add the roof!
(We used wood glue for this part.)
-More drying time...
I dated the bottom of both of their houses & plan to place them on a shelf or bookcase somewhere in their bedrooms once we move in. A small remembrance of our house construction! Move in date is only 3-4 weeks away!
Enjoy! s.b.

10.22.2010

Paper Plate Spider

M1 is terrified of anything that crawls, but she surely enjoyed making this spider! Drying time aside, it was quick & a great way to pass time yesterday morning. I wish Halloween could come 3 times a year!! So fun...

Supplies- Paper Plate, Glue, Black Paint, Paint Brush/Sponge, Scissors, Black/White Construction Paper, Black/Gold Pipe Cleaners, Stapler & Scotch Tape.
1. Start by painting the under side of the paper plate black. Allow to dry.
2. Once it's dry, fold the paper plate in half.
3. Tape the black pipe cleaners to the right & left side of the bottom half of the plate. (3 on each side. I also cut them each in half so they weren't too long. **If you don't have pipe cleaners, you could use thin strips of black paper.)
 
4. Fold the plate in half & secure by stapling around the edges.

5. Create spider eyes by cutting out large white circles & small black circles. (M1 glued them together.)
6. Glue the eyes onto the spider.
7. Bend the gold pipe cleaner into a silly shaped mouth & glue on. (If you don't have one, you could use a different colored paper, colored ribbon, etc.)
8. Allow to dry.
I wish all spiders were this cute! Enjoy!...s.b.

10.19.2010

Lunch Bag Pumpkin

It's always fun to bring some of my past classroom projects back & do them with the girls. This paper bag pumpkin project was always a favorite & it was fun to see the different pumpkins that were created. I had to give my girls a little  more assistance with this one.. but as usual, it can be modified for little ones of any age.

Supplies- 1 Small Brown Paper Bag, Orange/Green Paint, Paint Brush/Sponge, Green Pipe Cleaner or Green Ribbon, Glue, Black Construction Paper, Scissors & Newspaper
1. Crinkle up a few sheets of newspaper into a ball shape.
2. Stuff the bottom of the paper bag with the newspaper balls.
3. Tie the bag shut 3/4 of the way up with a green pipe cleaner or green ribbon.
4. Begin painting the lower 3/4 of the bag orange until it's covered to the little one's liking... M2 definitely didn't even come close to covering her's but it looked great.
5. Continue by painting the top portion (above the tie) with the green paint.
6. Cut out two triangle eyes, a triangle nose & a jack-o-lantern mouth using the black construction paper. (I did this for M2 but if you have older children you could allow them to create their own shapes for the face.)
7. Glue them into place.
Finished... allow time to dry.

10.12.2010

Handprint Fall Colors Tree

Fall is by far my favorite time of the year. I could craft fall stuff all day long! This week the girls (with my assistance of course!) created fall trees using their cute little hand prints.

Supplies- Colored Paint, Glue, Scissors, Brown & White Construction Paper & A Green Crayon.
1. Trace & cut out your little one's hand and arm print. (A small amount of the arm must be traced to create the "tree trunk".)
2. Glue the brown hand/arm print to a 8x11 piece of white construction paper.
 
3. Using the fall tree colors (red, yellow, green, brown, orange) begin dipping little fingers into the paint & stamping them onto the paper to create small colored "leaves."
*We used one color at a time & I washed their fingers off with a damp towel in between colors.
4. Once we were done with the paint, M1 wanted to add a little grass to her picture. Of course monkey see, monkey do...M2 had to make some grass under her tree as well! (Using a green crayon.)
5. Allow to dry.
M1 on the left & M2 on the right...LOVE it!!!
Enjoy! s.b.
giveaways

9.24.2010

Another Apple Creation...

No tutorial here... this is M1's apple wreath that she created at school. Sooo cute! I really enjoy the projects she does at home with me, but there's something about the crafts she does away from home. The seem so much more special! Maybe it's fact that she's so excited to show me & tell me exactly how she made it.
This particular project was stamped with real apples & then the bow was decorated with apple stickers. Another cute one that would be pretty easy to do with minimal materials.
Enjoy! s.b.

9.21.2010

M2's Apple Craft

We are LOVING the cooler temps & fall-like weather. It is my favorite time of the year. There are so many festive things to do together as a family as we approach Halloween & our new house being completed!!! This past weekend we decorated Grandma's house (our current home) with pumpkins & other fall decor. The girls are thrilled! We also made our first trip to the apple orchard to pick apples. Since then, we've been eating lots of apples... apple crisp, squash & apple bake, apple bread, etc. It's so fun. Today while M1 was at school M2 & I decided to continue with the apple fun & make one of her own.

Supplies: Red/White Construction Paper, 1 Small Paper Plate, Glue, Green or Brown Paint, Paint Brush & Scissors
1. Cut 1 inch squares of red paper... enough to cover the entire plate.
2. Cover the paper plate with glue.
3. Begin placing the red squares all over the plate until it's covered.
4. Paint your little one's hand green (as seen below). After I did this, I realized that an apple stem is actually brown. So if you want to be correct, use brown instead!
 
5. Stamp his/her hand onto the white piece of construction paper. Allow to dry.
6. Cut out the handprint & glue it to the top of the "apple."
Another creation from M2... I can't believe she is big enough to be crafting with me already. (She'll be 2 in January) Although we miss having M1 around Tues/Thurs. morning while she's at school... we also enjoy our time with just the two of us!
Enjoy! s.b.